STEP1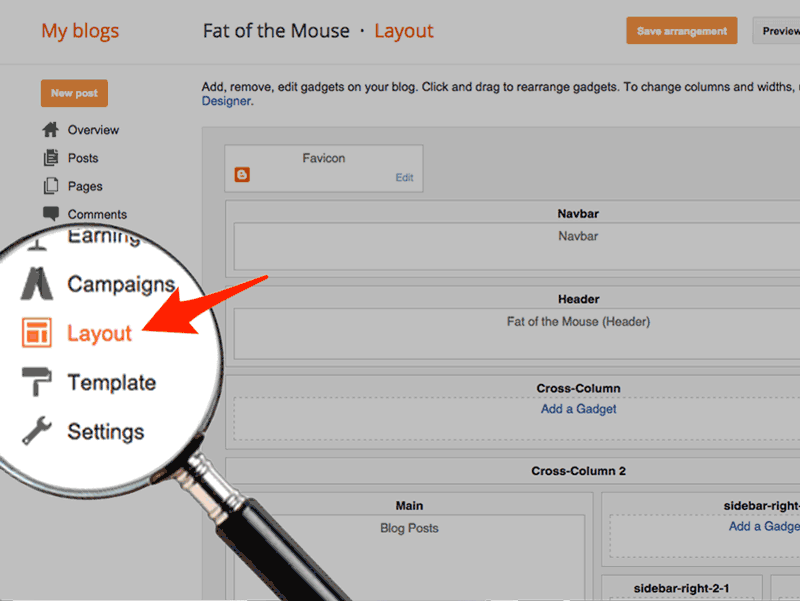
Blogger Layout
Launch the Blogger editor.
Click design in the upper right corner, then select layout from the sidebar.- STEP2
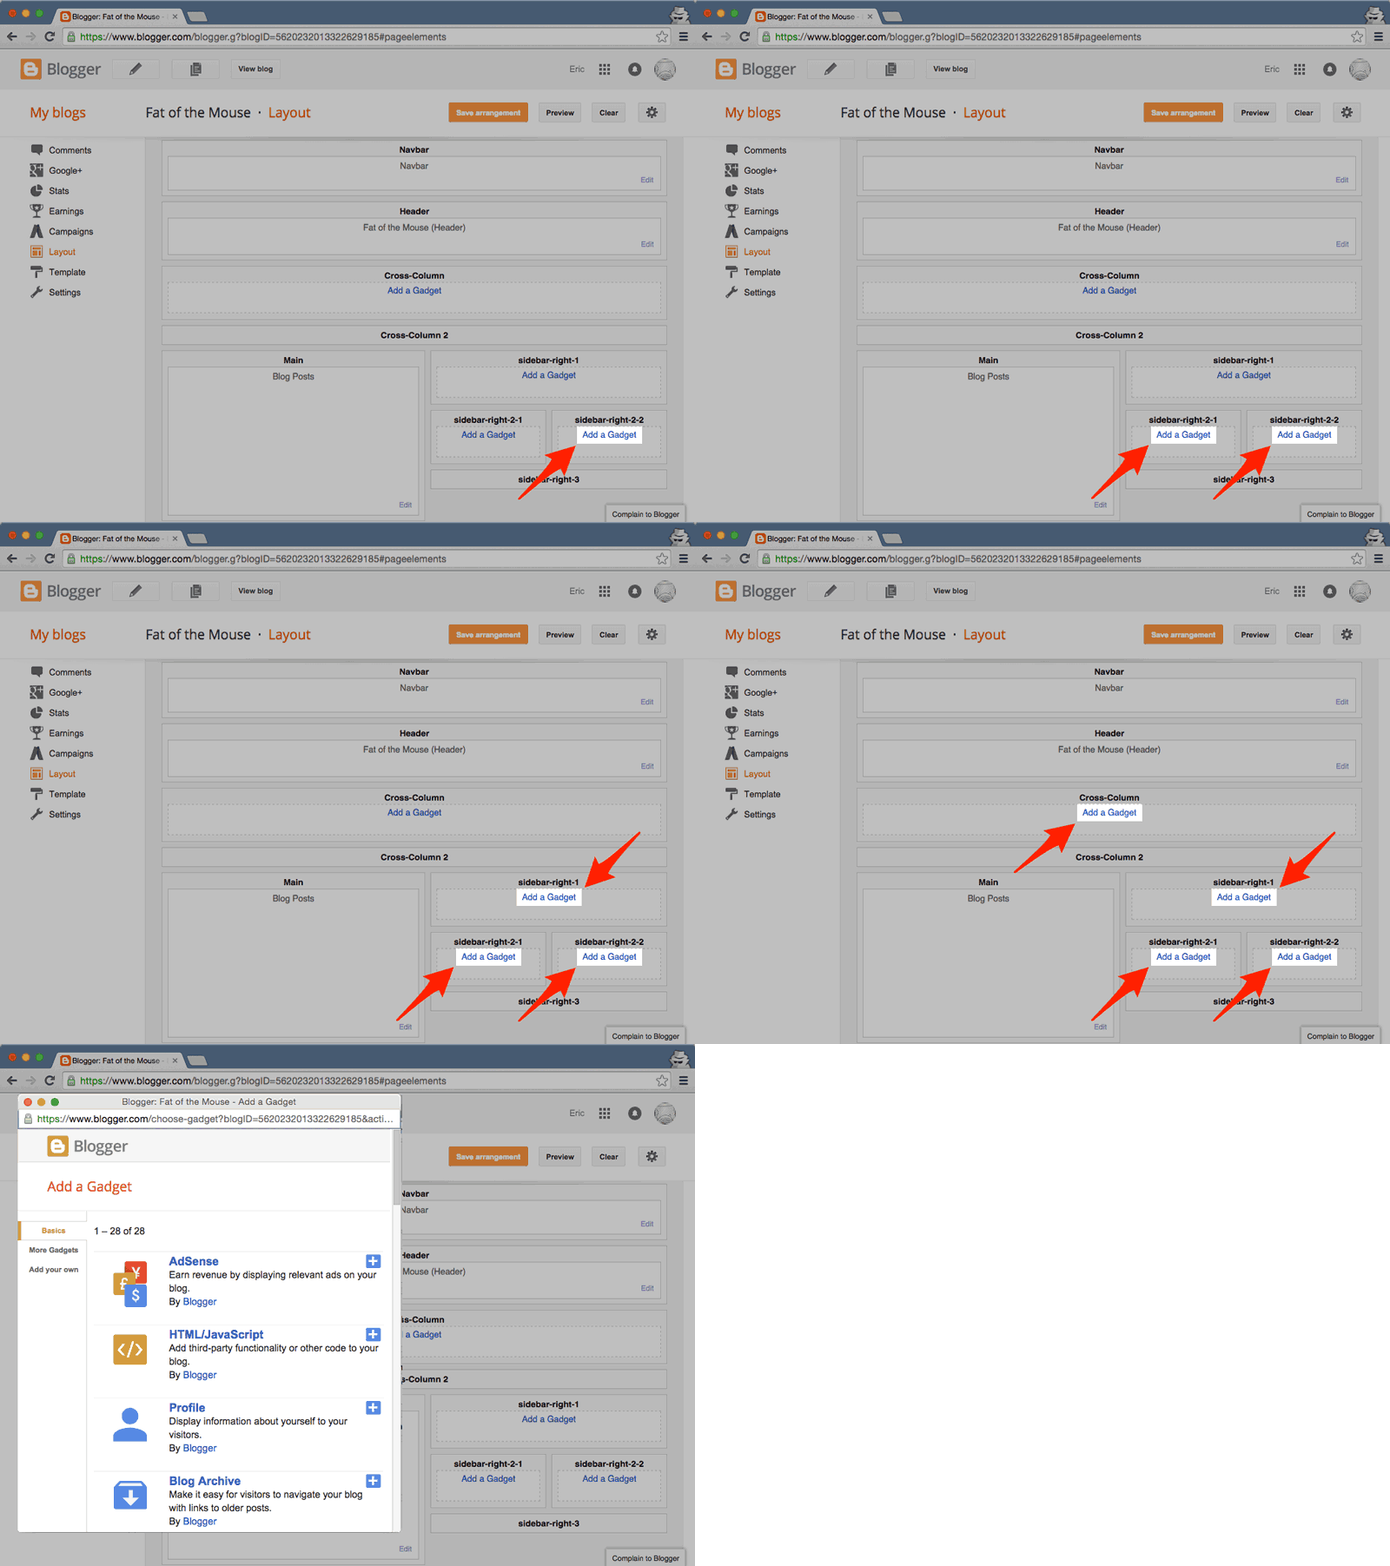
Add a New Gadget
Click on any of the Add a Gadget buttons to add POWr Weather. This will launch the Blogger Gadget pop-up. - STEP3
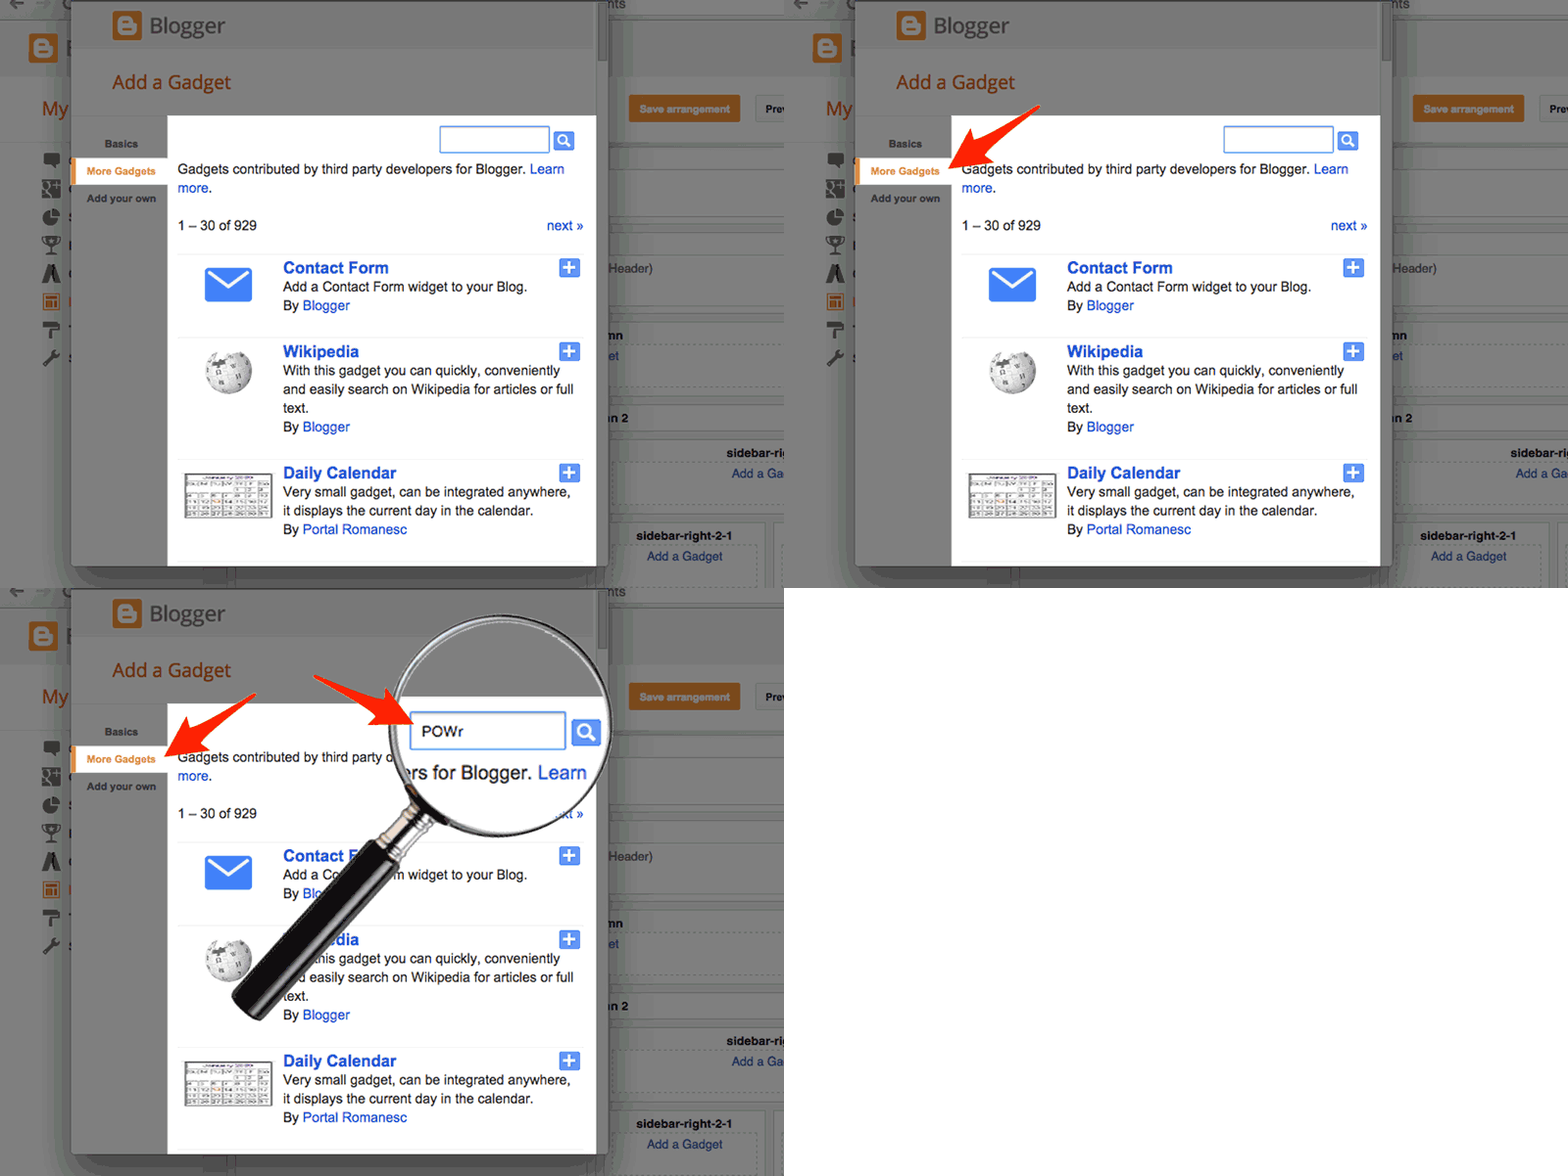
Search for POWr
Open the More Gadgets menu and search forPOWr. - STEP4
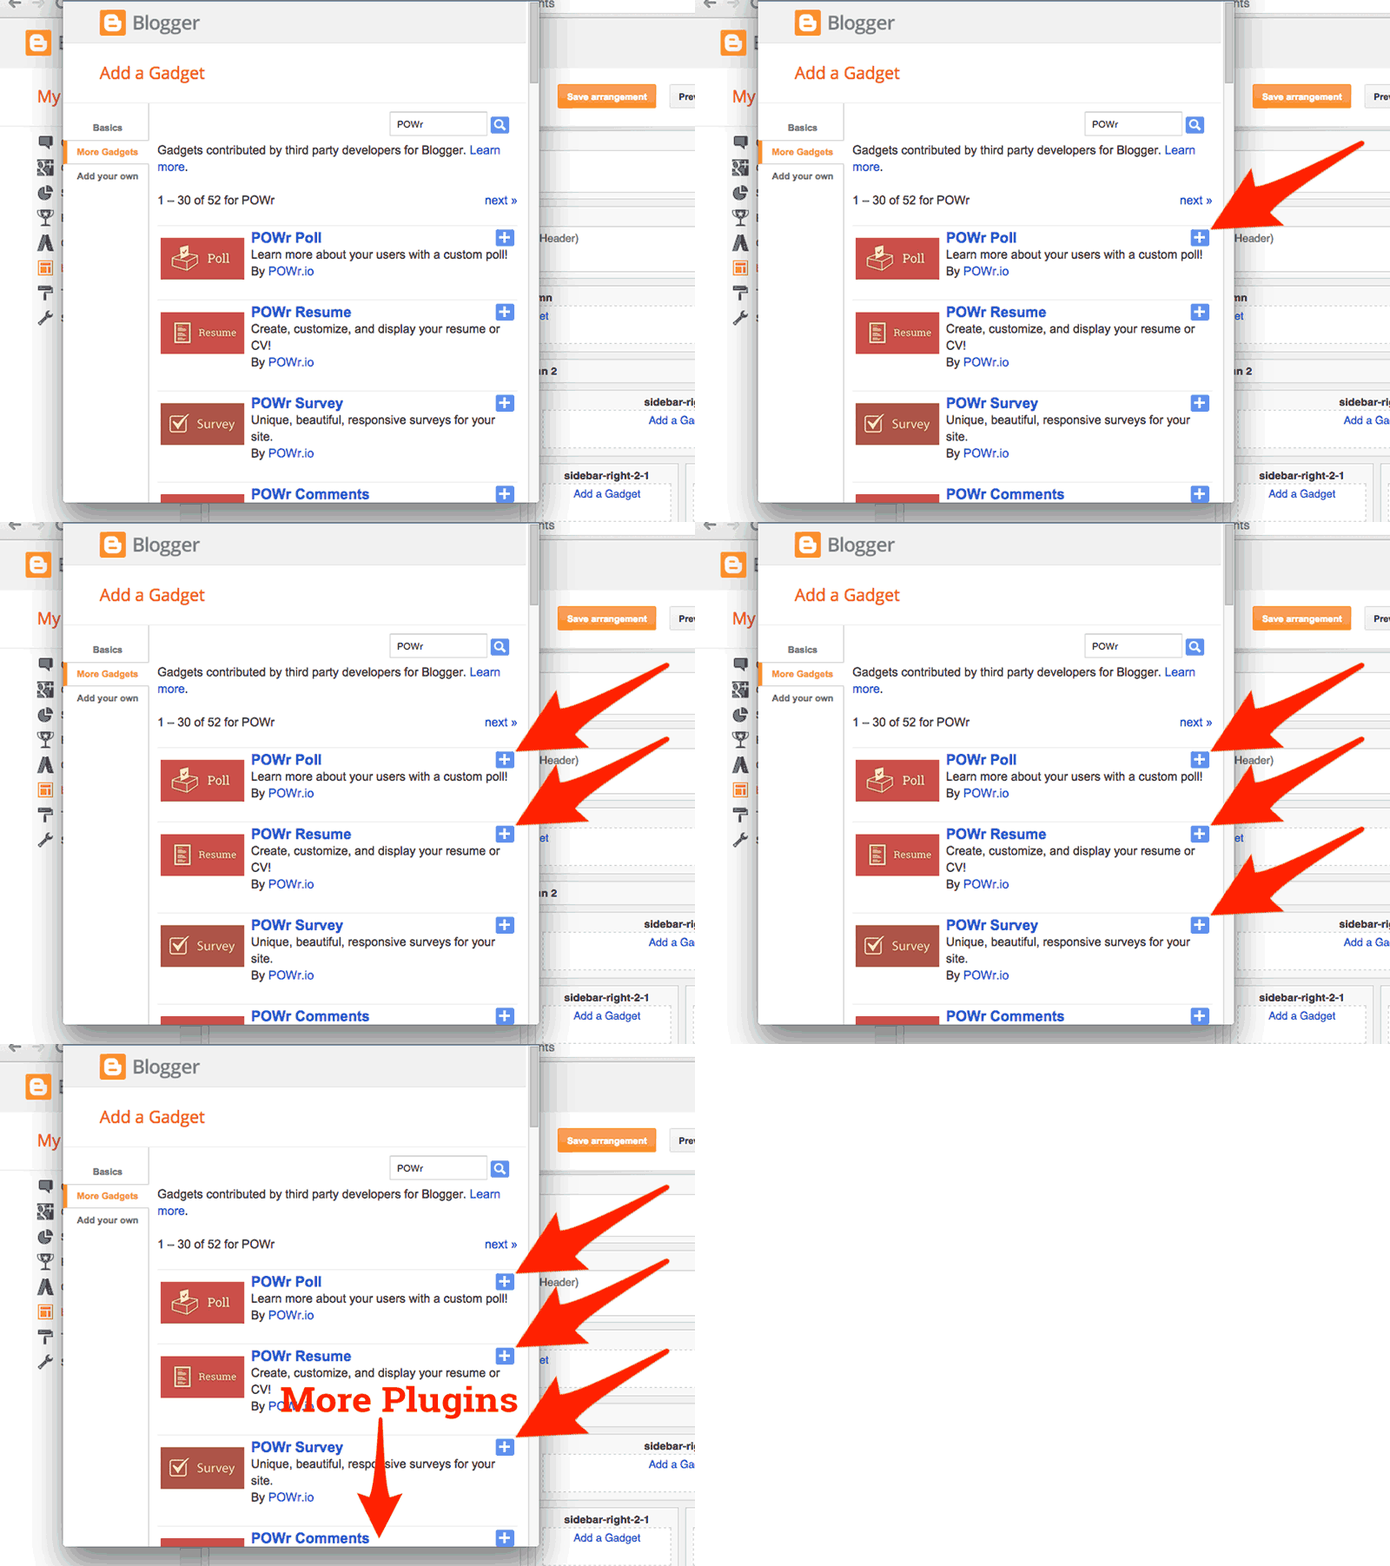
Add Weather Gadget
Find POWr Weather in the list and add it to your site. - STEP5
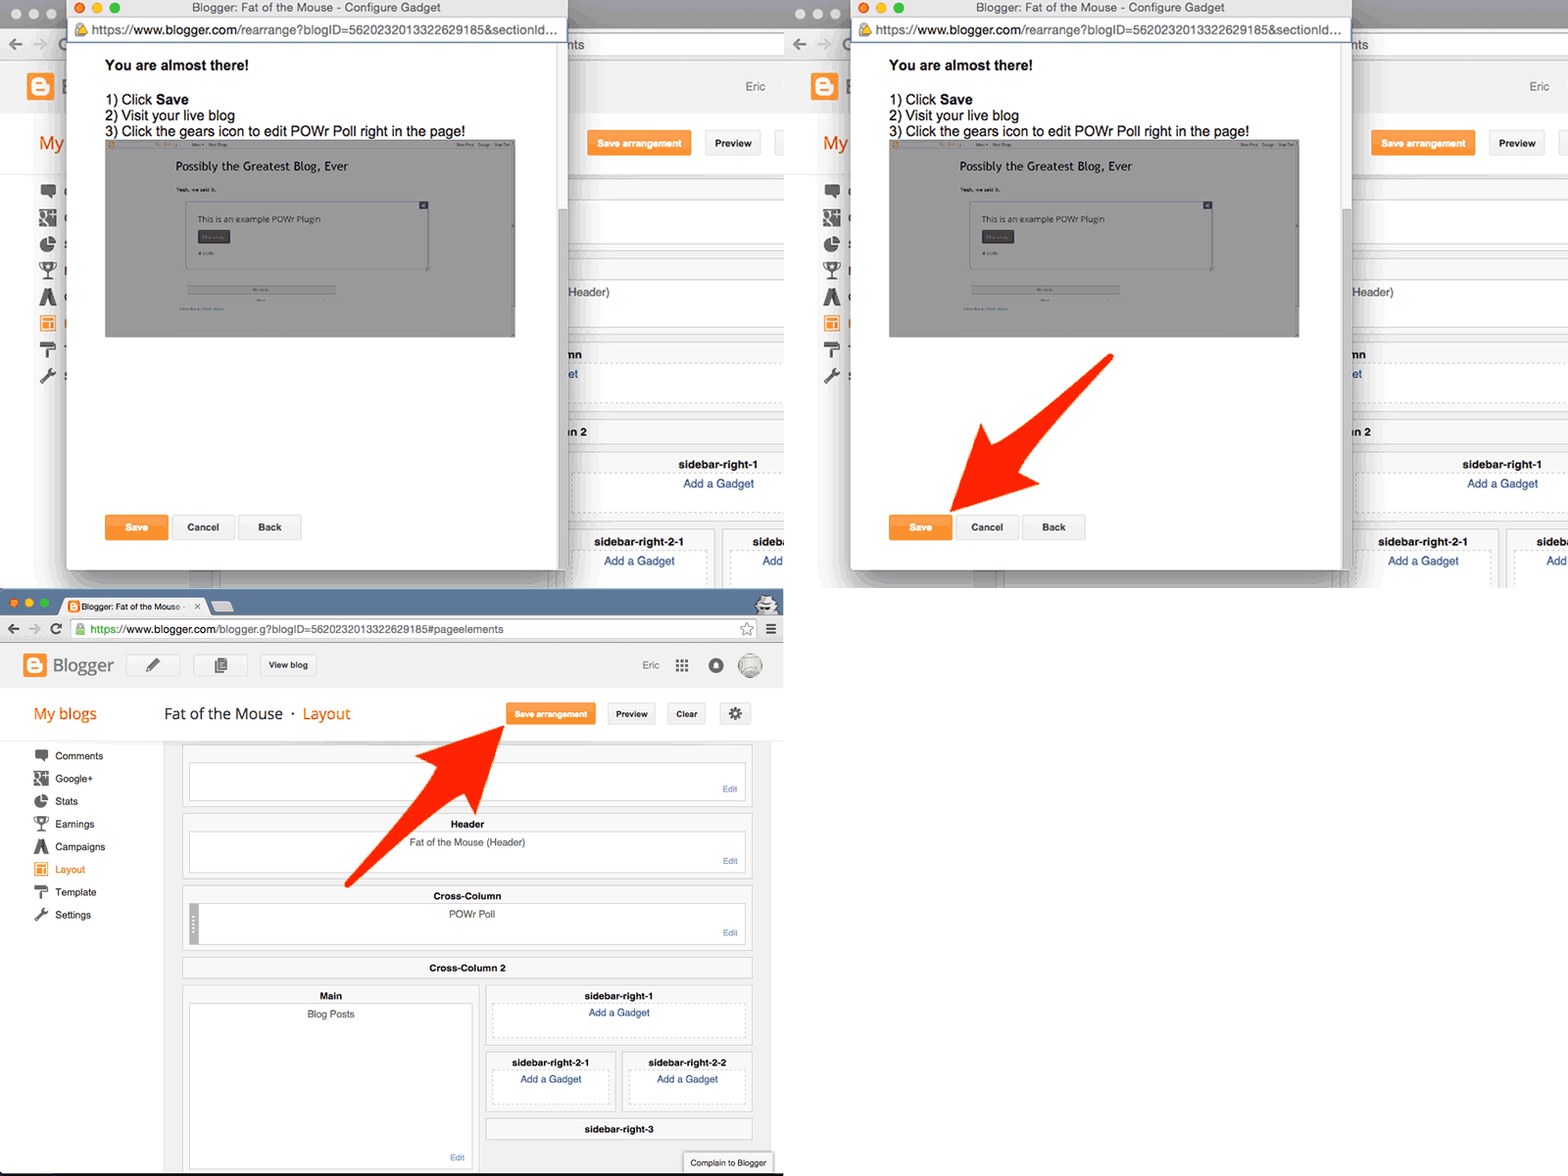
Save Arrangment
The new POWr Weather gadget will appear in the Layout.
Save Arrangement then View Blog. - STEP6
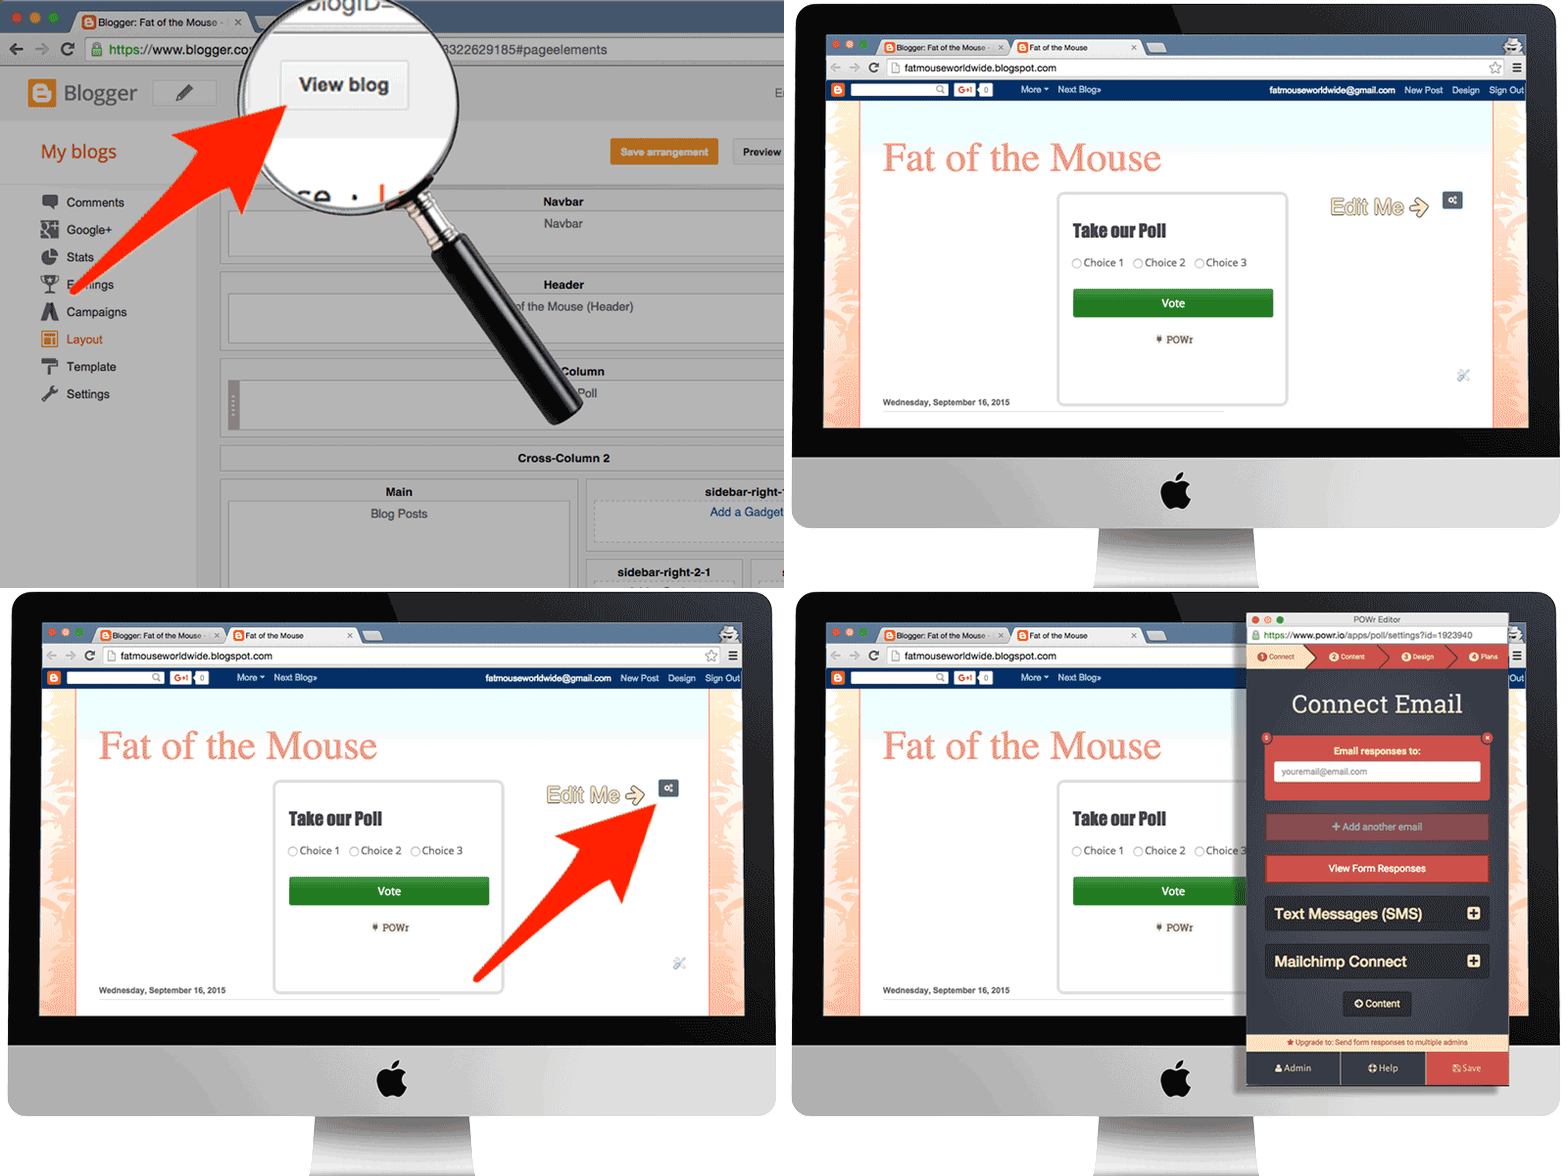
View Blog to customize POWr Weather
Click on View Blog to visit the live, published Blogger site.
Find the new Weather Widget. You will see a blinking Edit Me sign, pointing to a Settings Icon.
Click the Settings Icon to launch the POWr Editor and begin editing your Weather Widget.
In the POW Editor, go to Admin Import. FindWeather-bf739a95_1460264207357 and clickSync. The correct Weather will appear.How to add Weather Widget in blog
How to add Weather Widget in blog
Subscribe to:
Post Comments
(
Atom
)
Contact us
Follow us on FB
Blogger news
More custom template flexibilityLast May, we added some expressions to our templating language to make it easier for you to customize your blog’s look and feel. These new expressions proved popular with those of you who enjoy advanced blogging tools, so we wanted to offer you even more flexibility. Starting today, we’re introducing a new set of operators, which we’re calling lambda expressions...


0 comments:
Post a Comment